

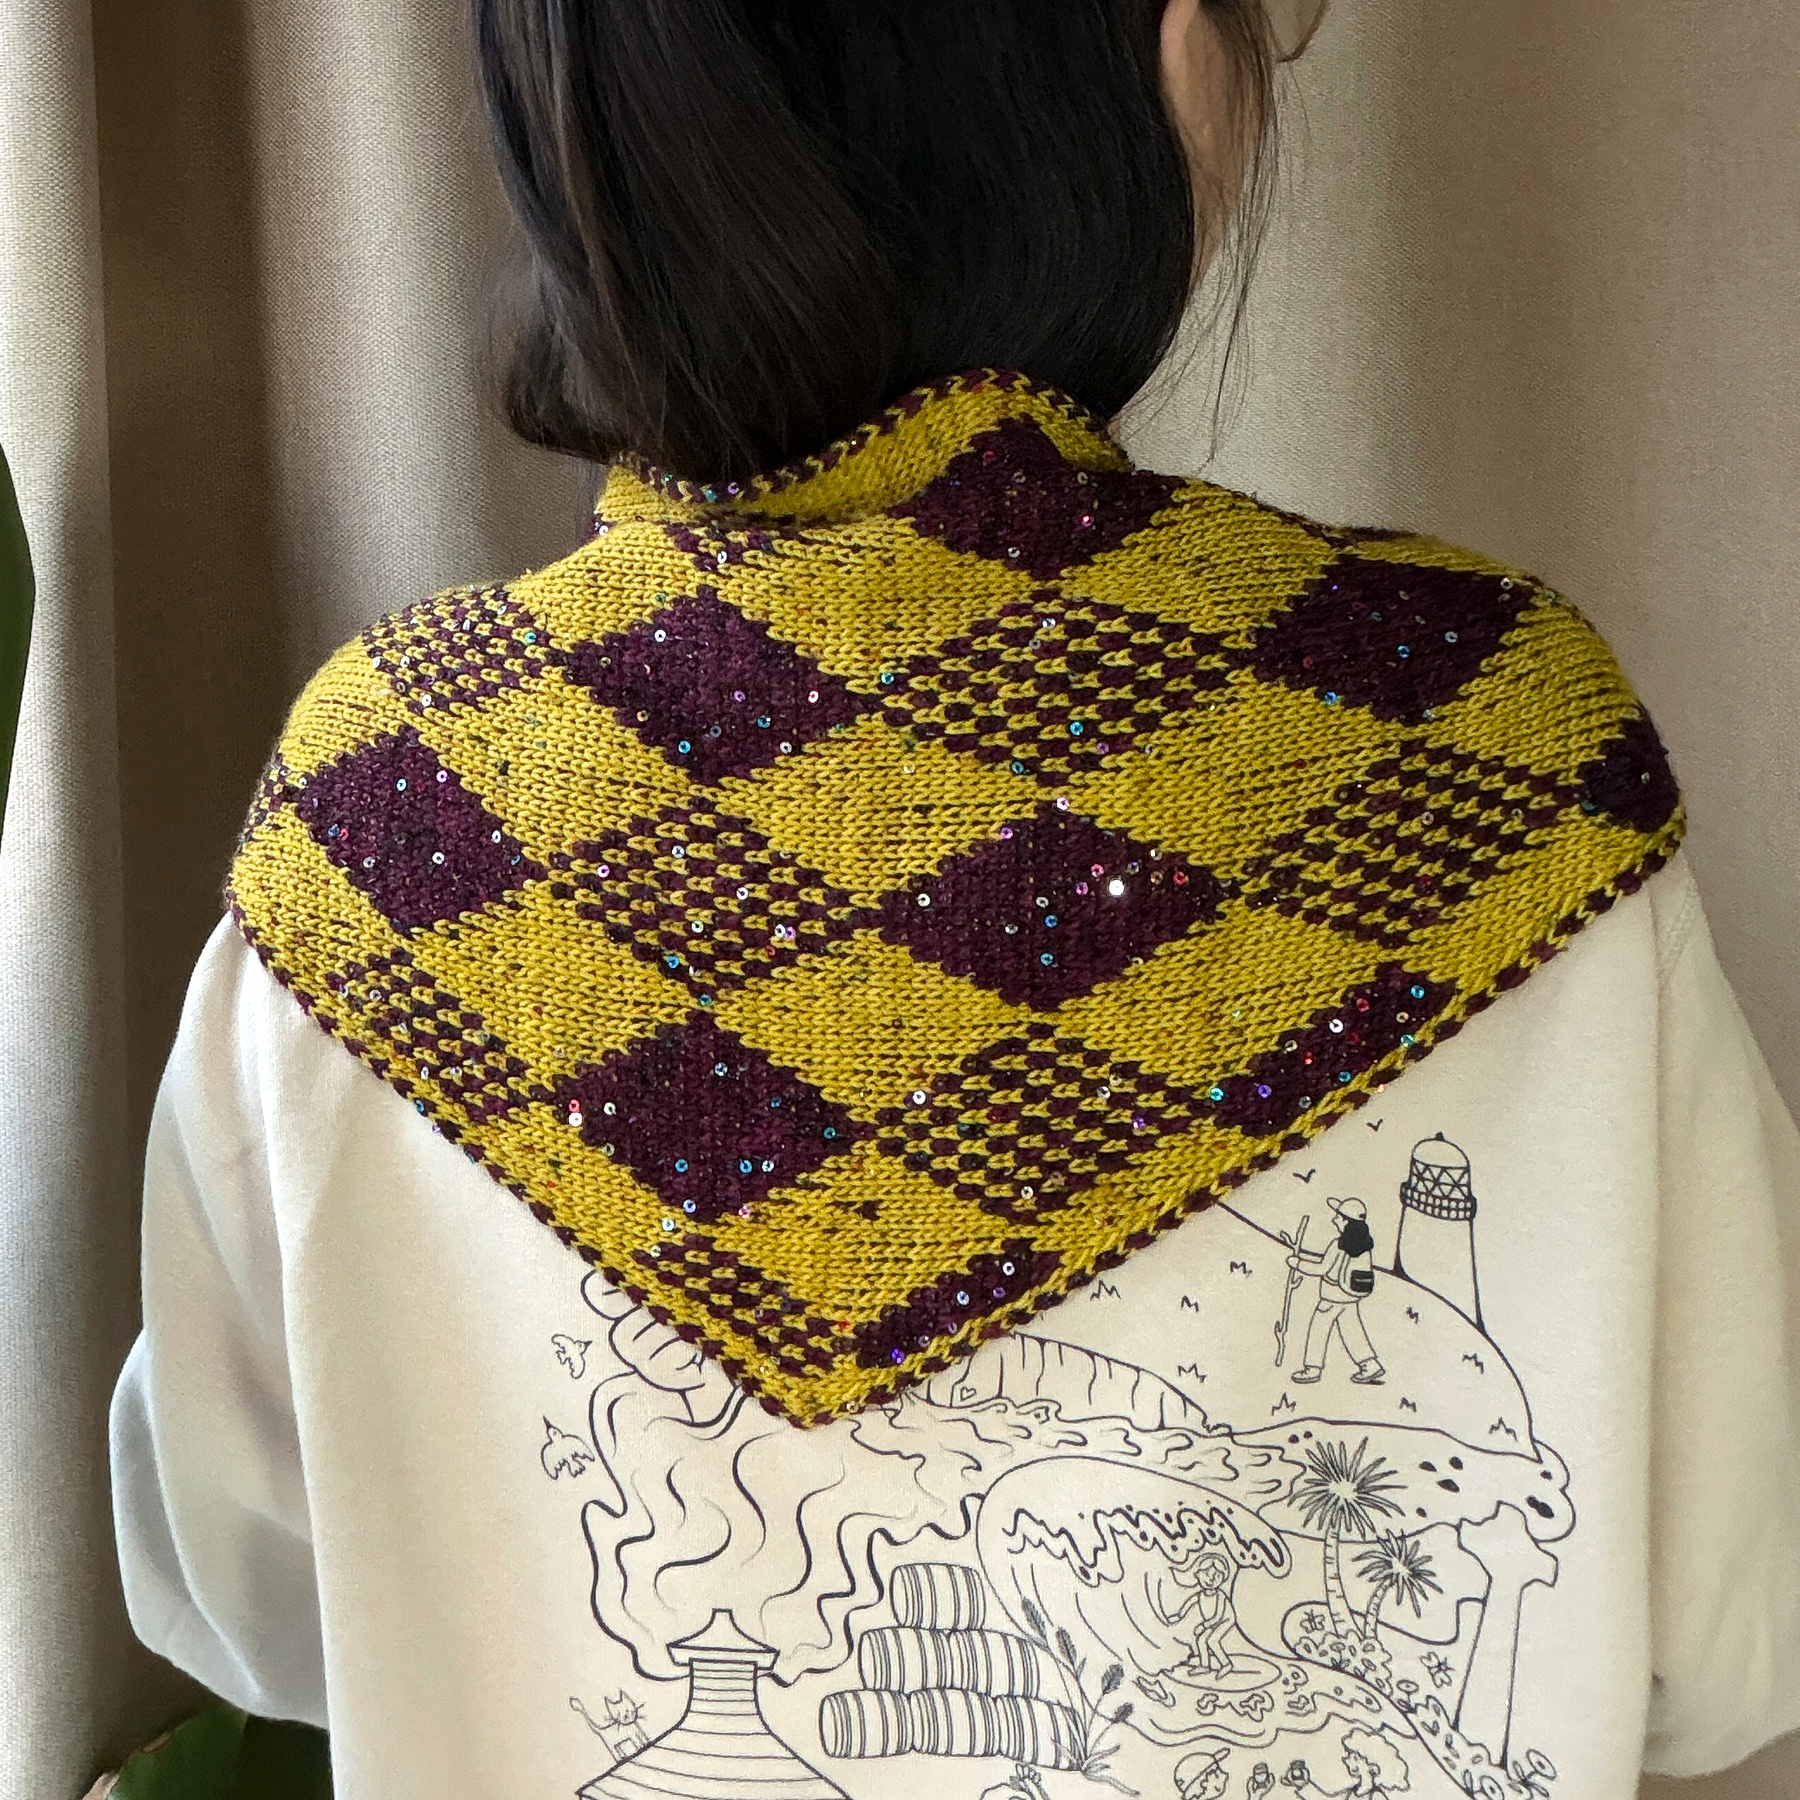
Knitting patterns by Qing / Featured pattern
Harlequin
Gambit.
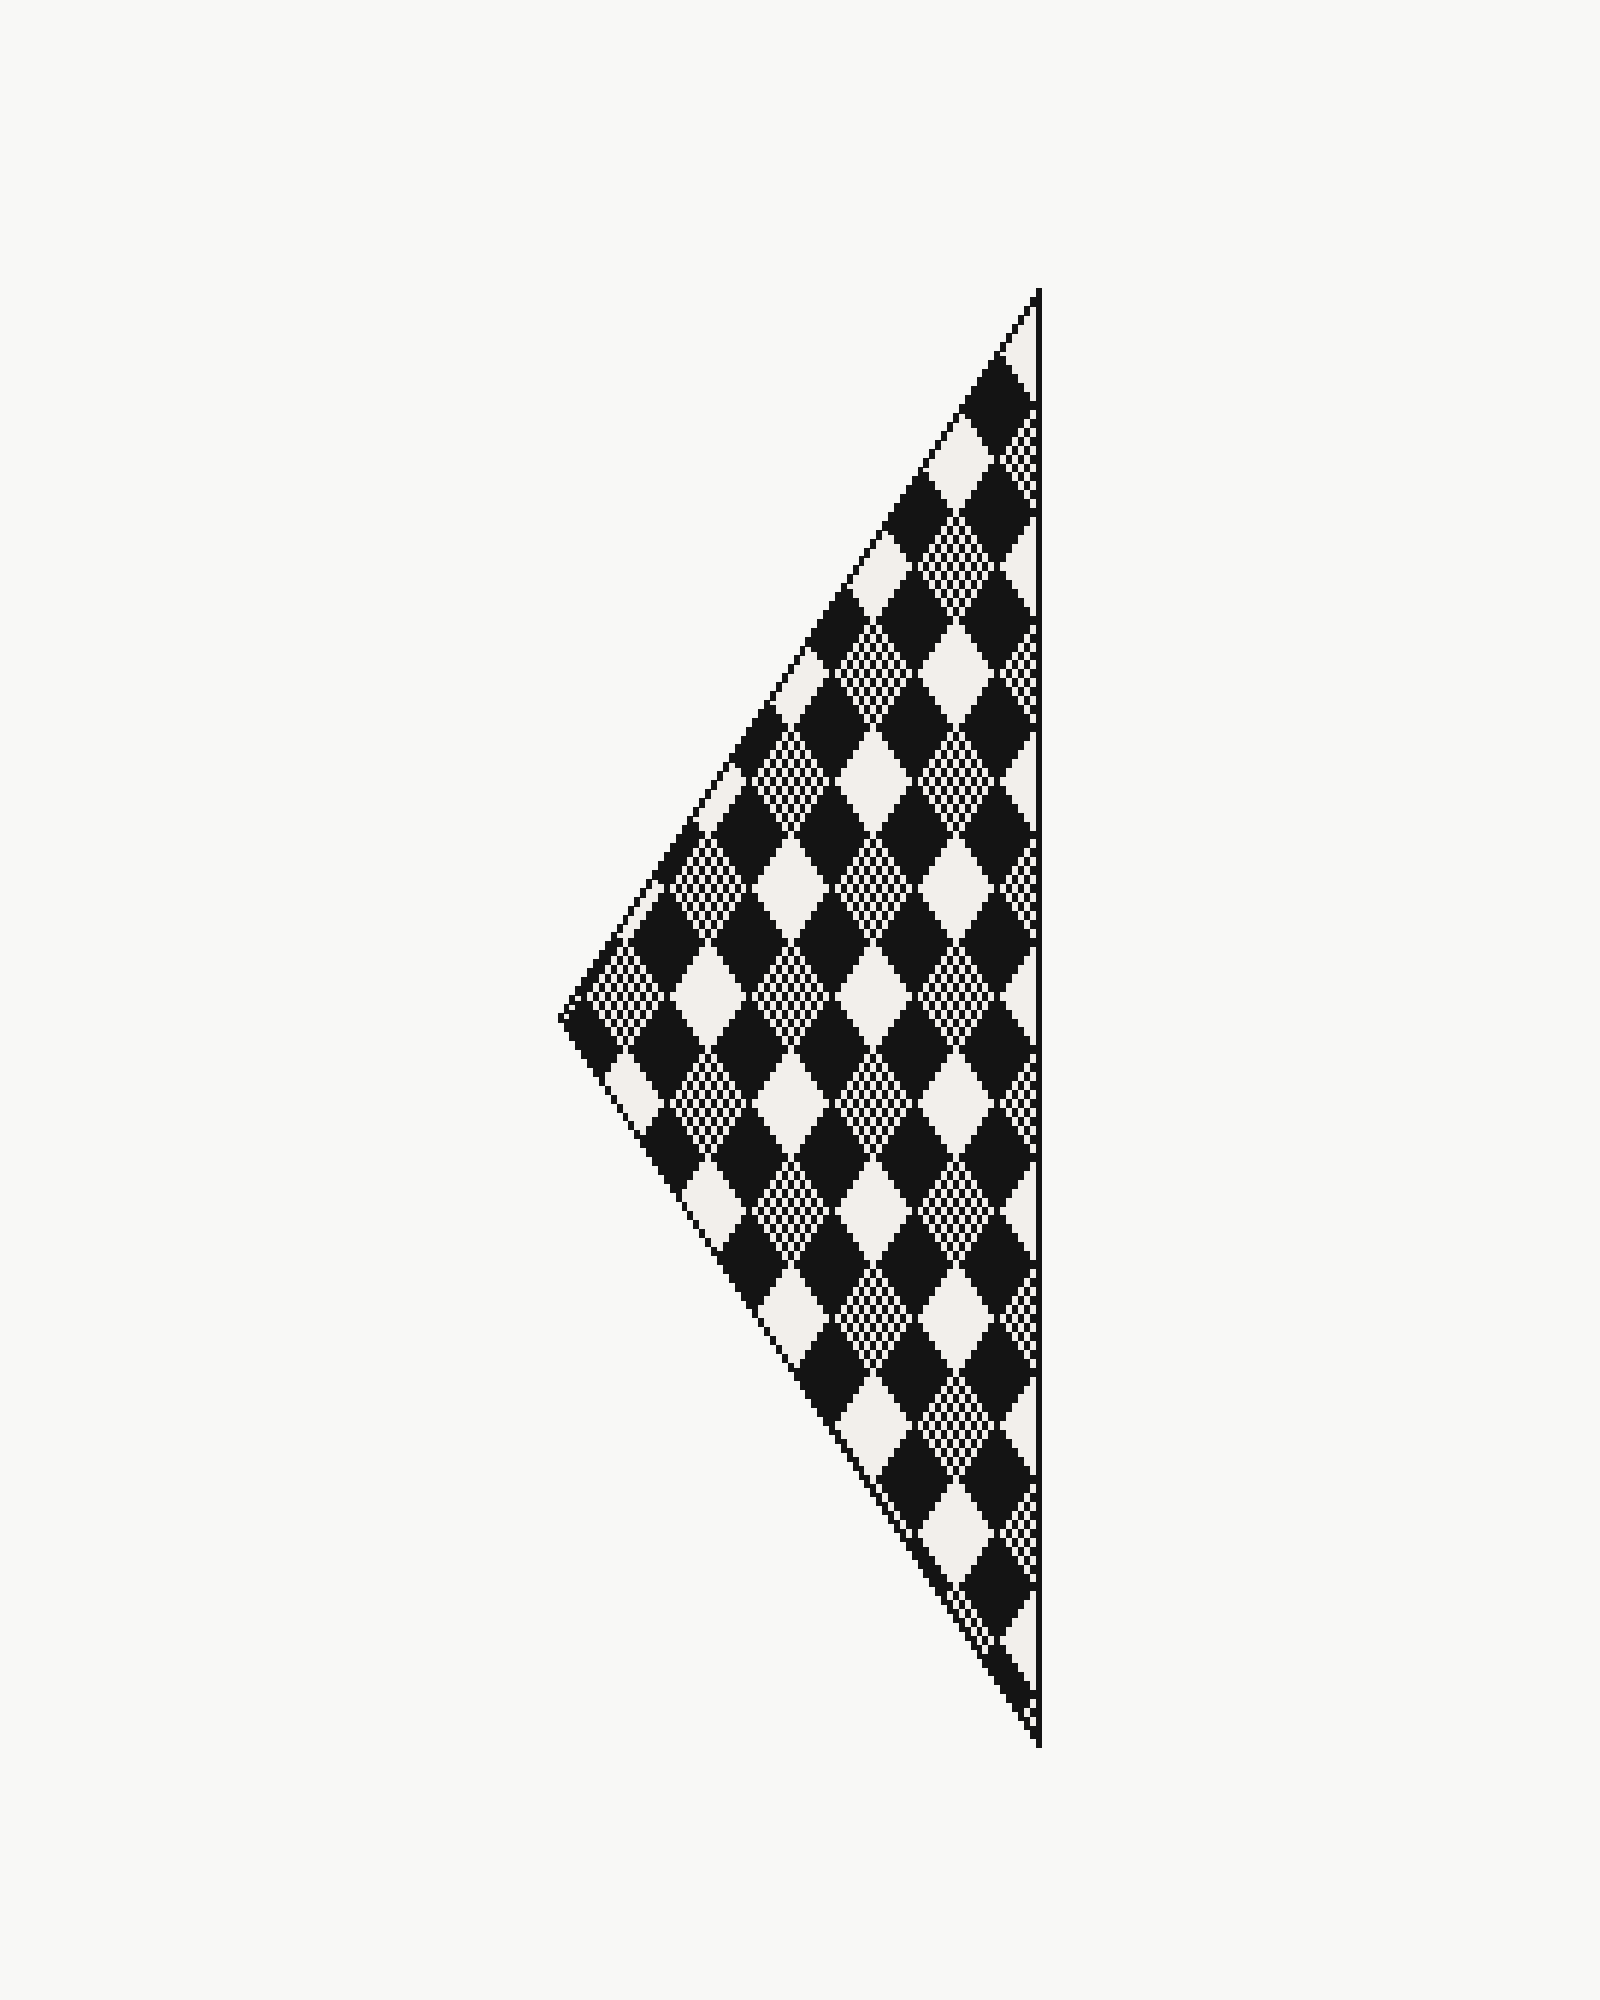
Diamonds on one side. Checkmate on the other.
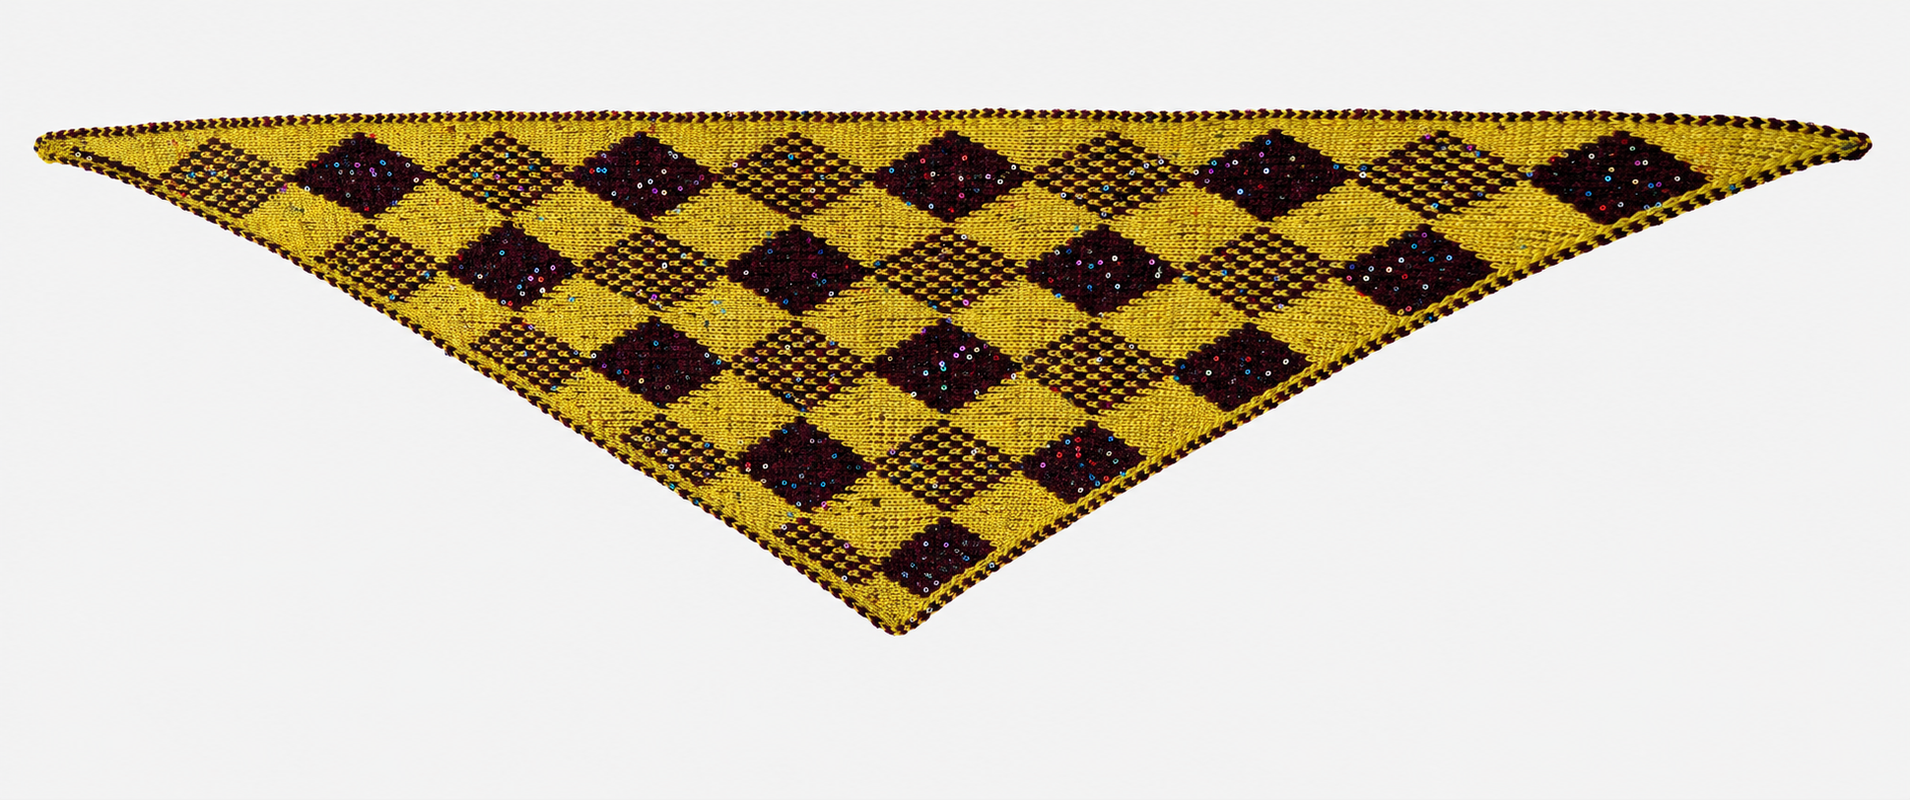
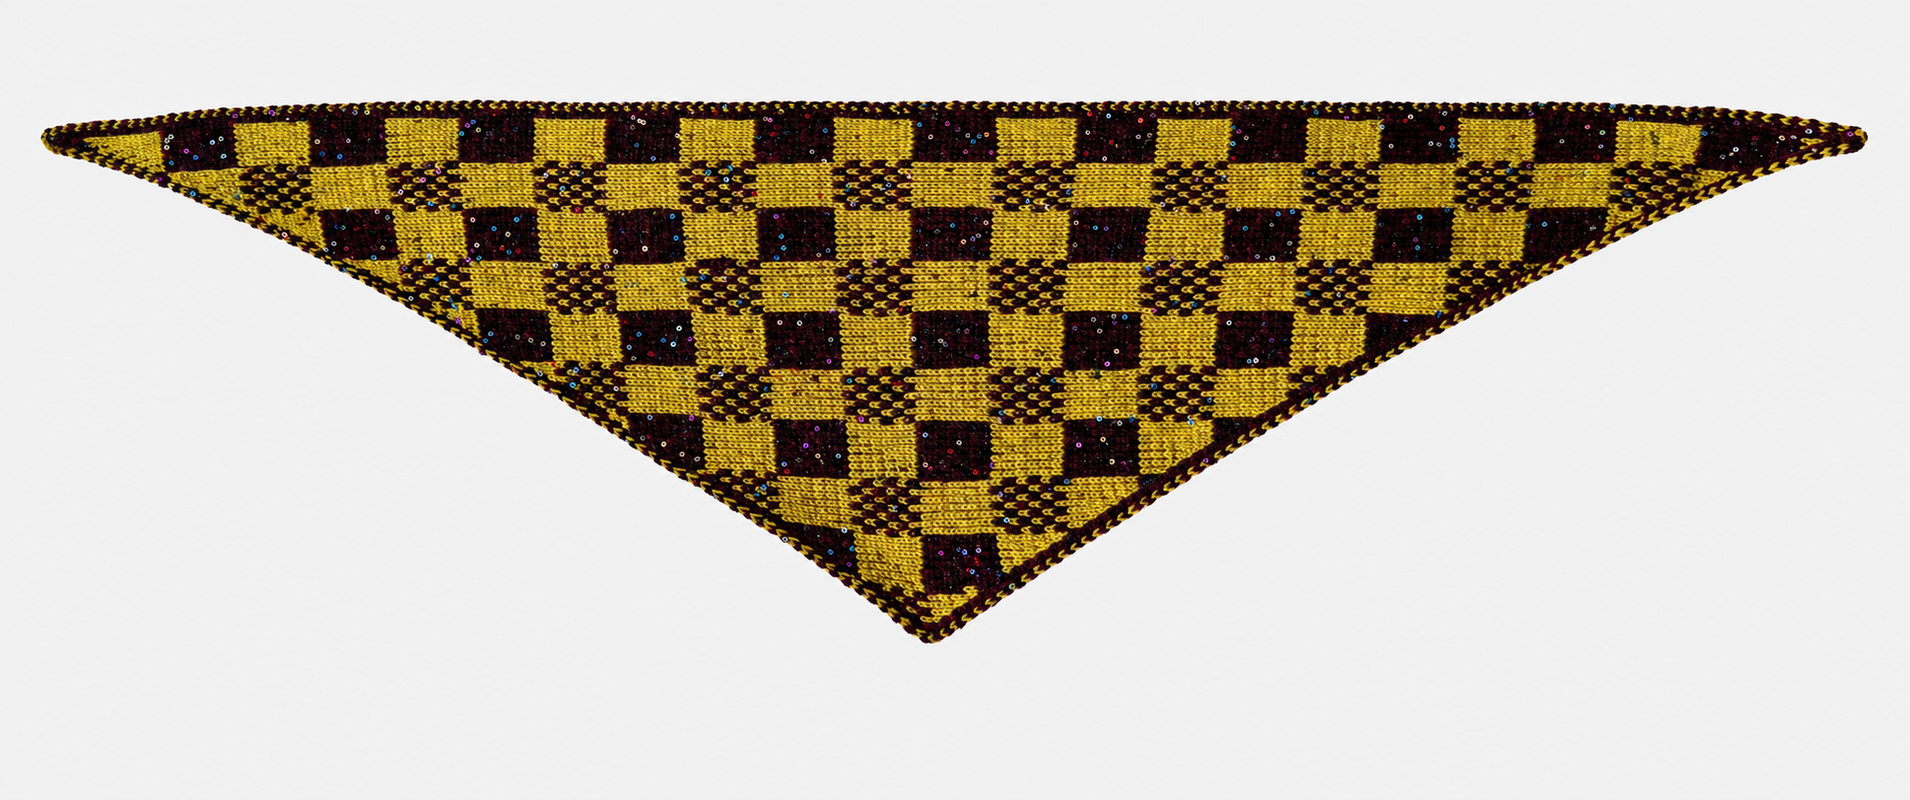
Drag to explore · or choose a side
Photo tutorial / The Slasher Poltergeist
Double Knit Triangle Scarf
Cast-On Tutorial
Start with a provisional cast-on and I-cord tab, then build the first double-knit pair.
Before you begin
Circular needle, crochet hook and smooth waste yarn. Use the needle size and working yarn specified in your pattern.
White = CC · Pink = MC · Blue = waste yarn.
These are demonstration colours, not required colourways.
Two small distinctions
Slide means move the stitches along the circular needle without turning. Slip means transfer a stitch without working it.
Keep the work facing the same way unless instructed to turn.
Use the checkpoints to compare your work. They are optional self-checks, and you can revisit any chapter.
Chapter 01 / Steps 1–4
Make the I-cord tab
Build the short cord that becomes the starting tab.
01Start the waste-yarn chain
Make a slip knot on the hook and crochet a few chains. 02Cast on 3 stitches
Hold waste yarn behind the needle. Draw it over the needle and through the hook loop. Repeat for 3 stitches; finish with a few chains. 03Knit the first I-cord row
With CC, knit all 3 stitches. This is I-cord row 1. 04Work 5 rows total
Without turning, return the same 3 stitches to the left needle. Carry CC across the back and knit 3. Repeat until you have 5 I-cord rows total.
Chapter 02 / Steps 5–8
Pick up and recover
Pick up the side stitch and recover the live stitches from the provisional cast-on.
05Pick up 1 stitch with CC
Rotate the cord 90° clockwise. Pick up and knit 1 stitch with CC along its side. Choose an accessible side stitch. 06Find the 3 live stitches
At the waste-yarn edge, find the 3 CC V-shaped stitches. Follow the white yarn, not the blue chain. 07Put all 3 on the needle
With yarn behind, enter each V's right leg from left to right, purlwise. Place all 3 live stitches on the right needle before removing waste yarn. All 3 recovered 08Unzip the waste yarn
Undo the finishing chain and pull gently to remove the waste yarn. Stop if a live stitch is not supported on the needle.
Chapter 03 / Steps 9–12
Add the MC centre stitch
Prepare the reverse-side strand that will become the MC centre stitch.
09Slide; knit 3 with MC
Slide all stitches to the opposite needle tip without turning. Join MC and knit the first 3 edge stitches. 10Return; knit 3 with CC
Return those same 3 stitches to the left needle without turning. Change to CC and knit them again. 11Slip the CC centre stitch
Slip the next CC stitch purlwise with both yarns behind. Leave the final 3 edge stitches unworked for now. 12Lift a reverse-side strand
Look behind the cord, beside the CC pickup. Choose an accessible side-edge strand and place it on the left needle. Reverse-side pickup
Chapter 04 / Steps 13–16
Complete the setup
Complete the centre pair and the Side B setup row, ready for the next pattern row.
13Purl the pickup; slip 3
Bring both yarns forward. Purl the lifted strand with MC. Slip the final 3 edge stitches purlwise, keeping both yarns in front. 14Turn; work the edge twice
Turn to Side B. With MC, knit 3. Return those same 3 stitches to the left needle without turning; knit them again with CC. 15Knit MC; purl CC
Move both yarns behind and knit 1 with MC. Bring both forward and purl 1 with CC. The centre pair is complete. MC knit 16Slip 3; check the setup
With both yarns in front, slip the final 3 edge stitches purlwise. Turn to Side A, ready to begin your pattern's next row.
Photo tutorial / Double knitting
Double knitting:
increase one pair.
Add one stitch to each layer to increase one double-knit pair beside the I-cord edge.
Before you begin
Begin with Side A facing you. These photos show CC as the knit stitch and MC as the purl stitch; follow your own chart for colour placement.
Use the yarn and needles specified in your pattern. This lesson begins at the increase, with your double-knit fabric already on the needles.
In these photographs
White = CC · Pink = MC.
These are demonstration colours, not required colourways. The new pair adds one stitch to each layer.
Need the starting setup? Follow the cast-on tutorial ↗
Use the photographs and checkpoints to compare your work. Self-checks are optional, and you can revisit any chapter.
Chapter 01 / Step 1
Stop before the edge
Follow the chart to the point where the increase begins.
01Stop before the edge
Follow your chart until 3 stitches remain, just before the I-cord edge.
Chapter 02 / Steps 2–3
Add the CC knit stitch
Make the first stitch of the new pair.
02Lift the CC bar
Find the CC bar between the last Side A stitch and the edge. Lift it onto the left needle from back to front, as for M1R. Close-up / lift the CC bar 03Knit the CC increase
With CC and both yarns behind the work, knit into the front of the lifted bar (M1R). Close-up / knit the CC increase
Chapter 03 / Steps 4–5
Add the MC purl stitch
Work the second stitch for the other layer.
04Lift the MC bar
Bring both yarns to the front. Find the MC bar between the last Side B stitch and the edge. Lift it from front to back, as for M1L. Close-up / lift the MC bar 05Purl the MC increase
With MC, purl through the back loop of the lifted bar. Keep both yarns in front. Close-up / purl the MC increase
Chapter 04 / Steps 6–8
Check both sides
Inspect both sides before continuing with your pattern.
06Check the new pair
You have added 1 pair: a CC knit stitch and an MC purl stitch. Finish the edge as your pattern directs. Close-up / check the new pair 07Look at Side B
Turn the work to inspect Side B. The new stitch sits just inside the edge. 08Look at Side A
Check Side A too. The new pair continues the knit/purl order of the fabric.
01 / Knitting pattern
The Slasher
Poltergeist.
Triangle scarf · PDF knitting pattern
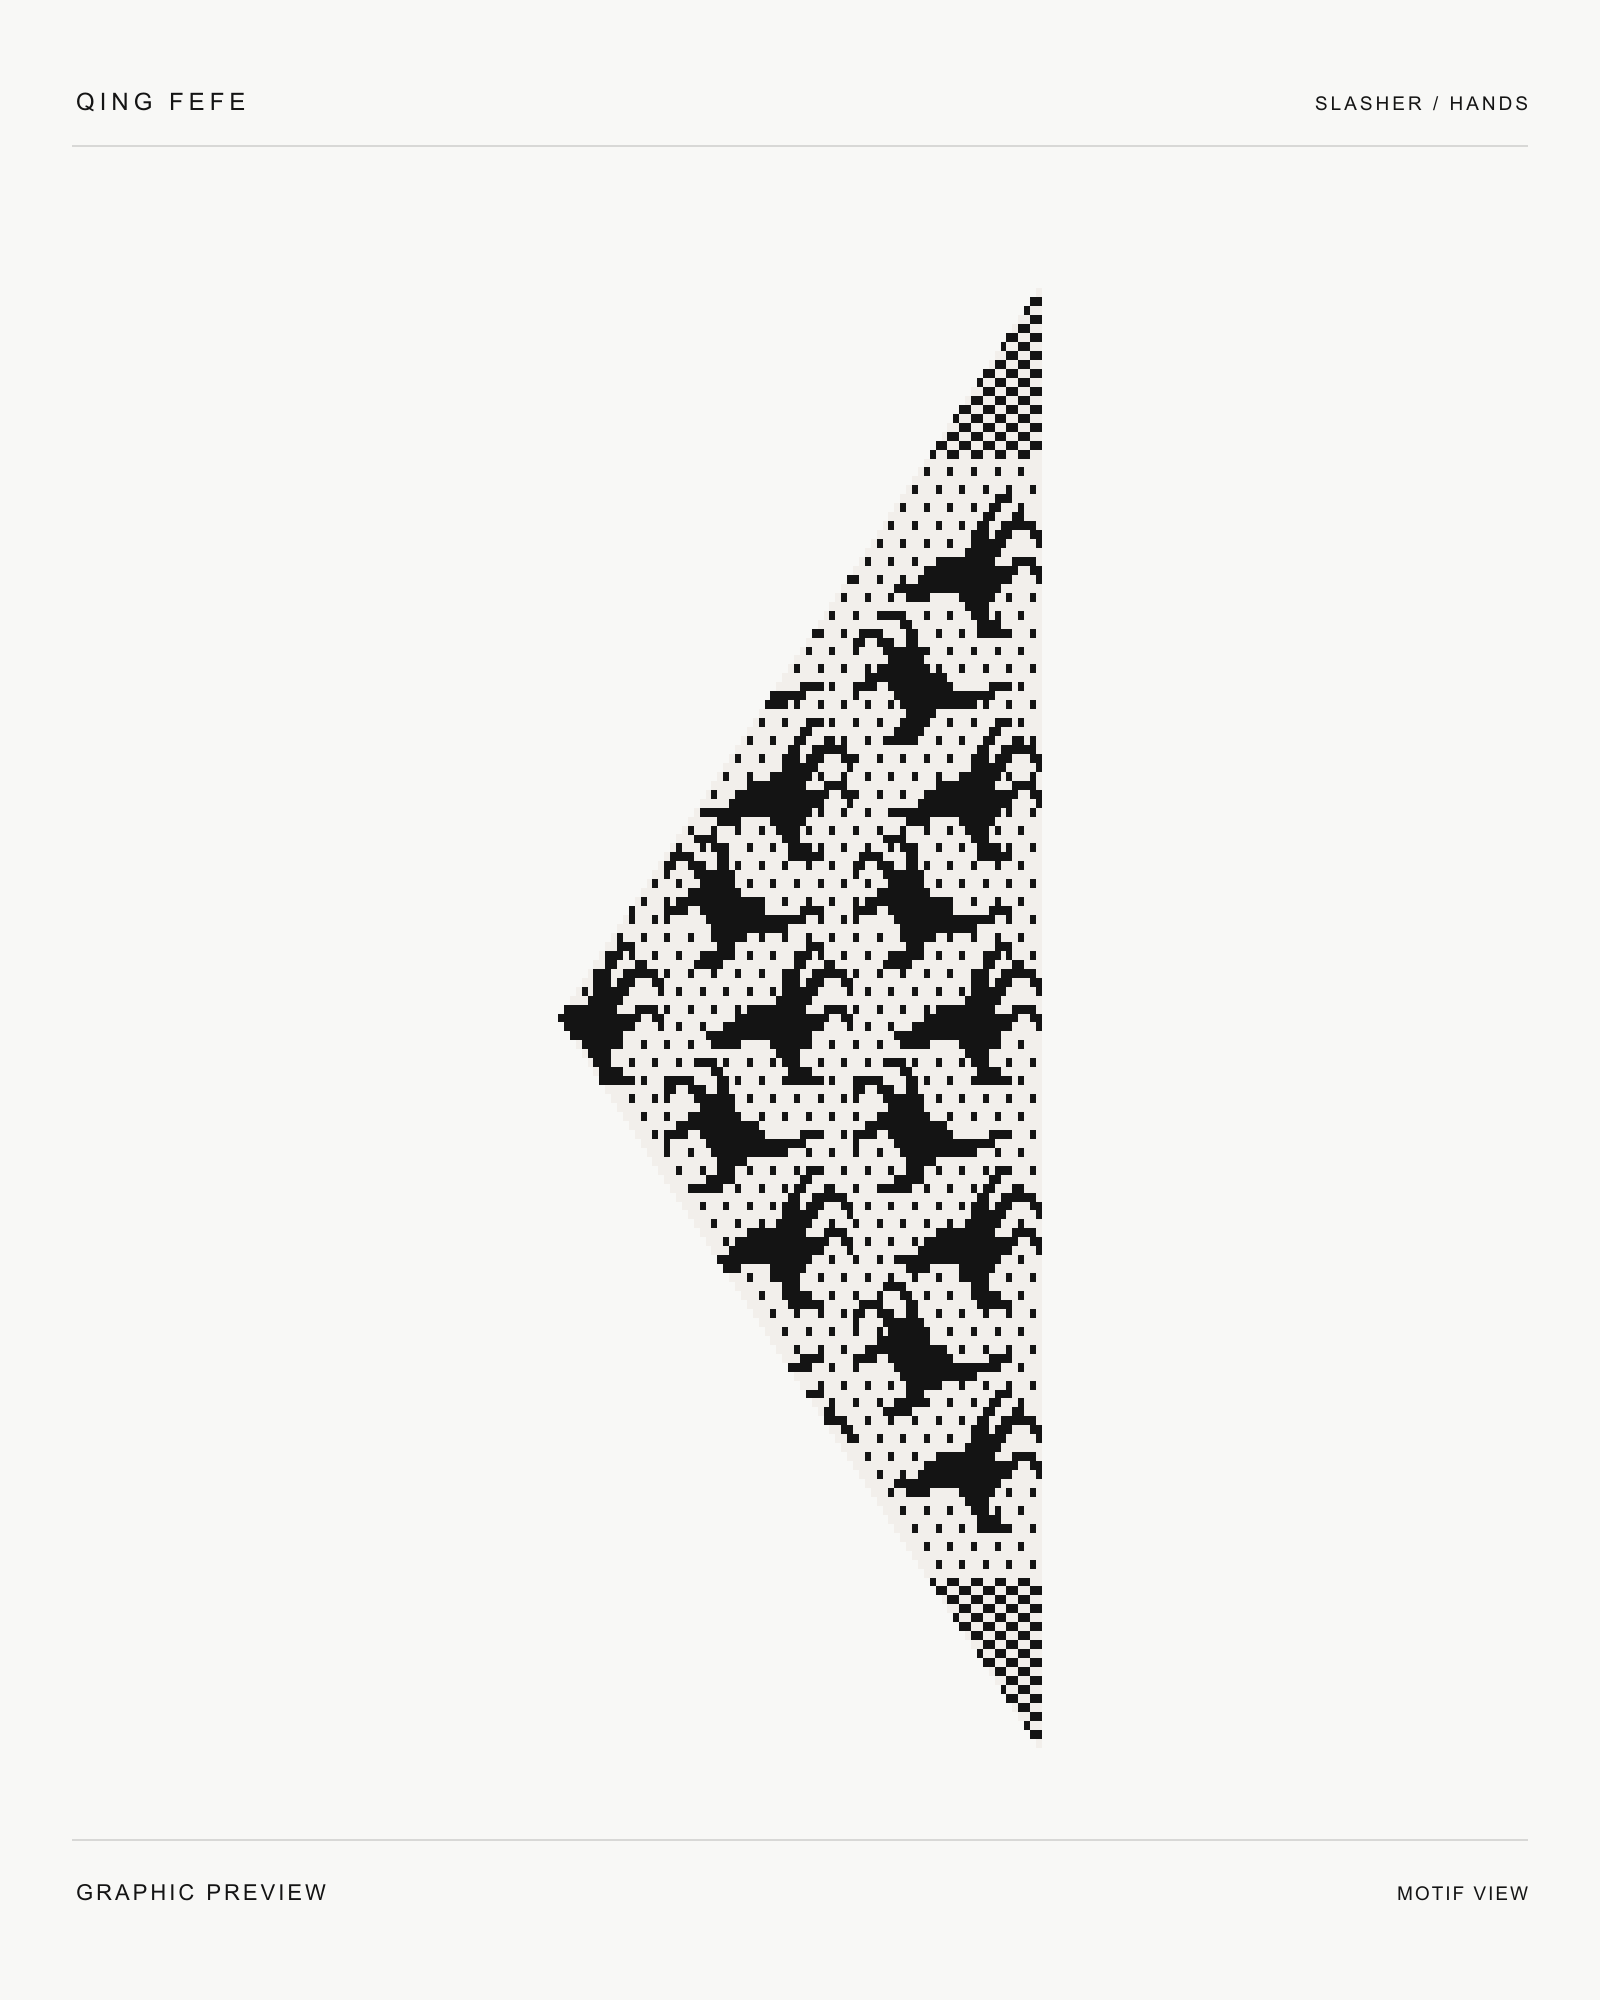
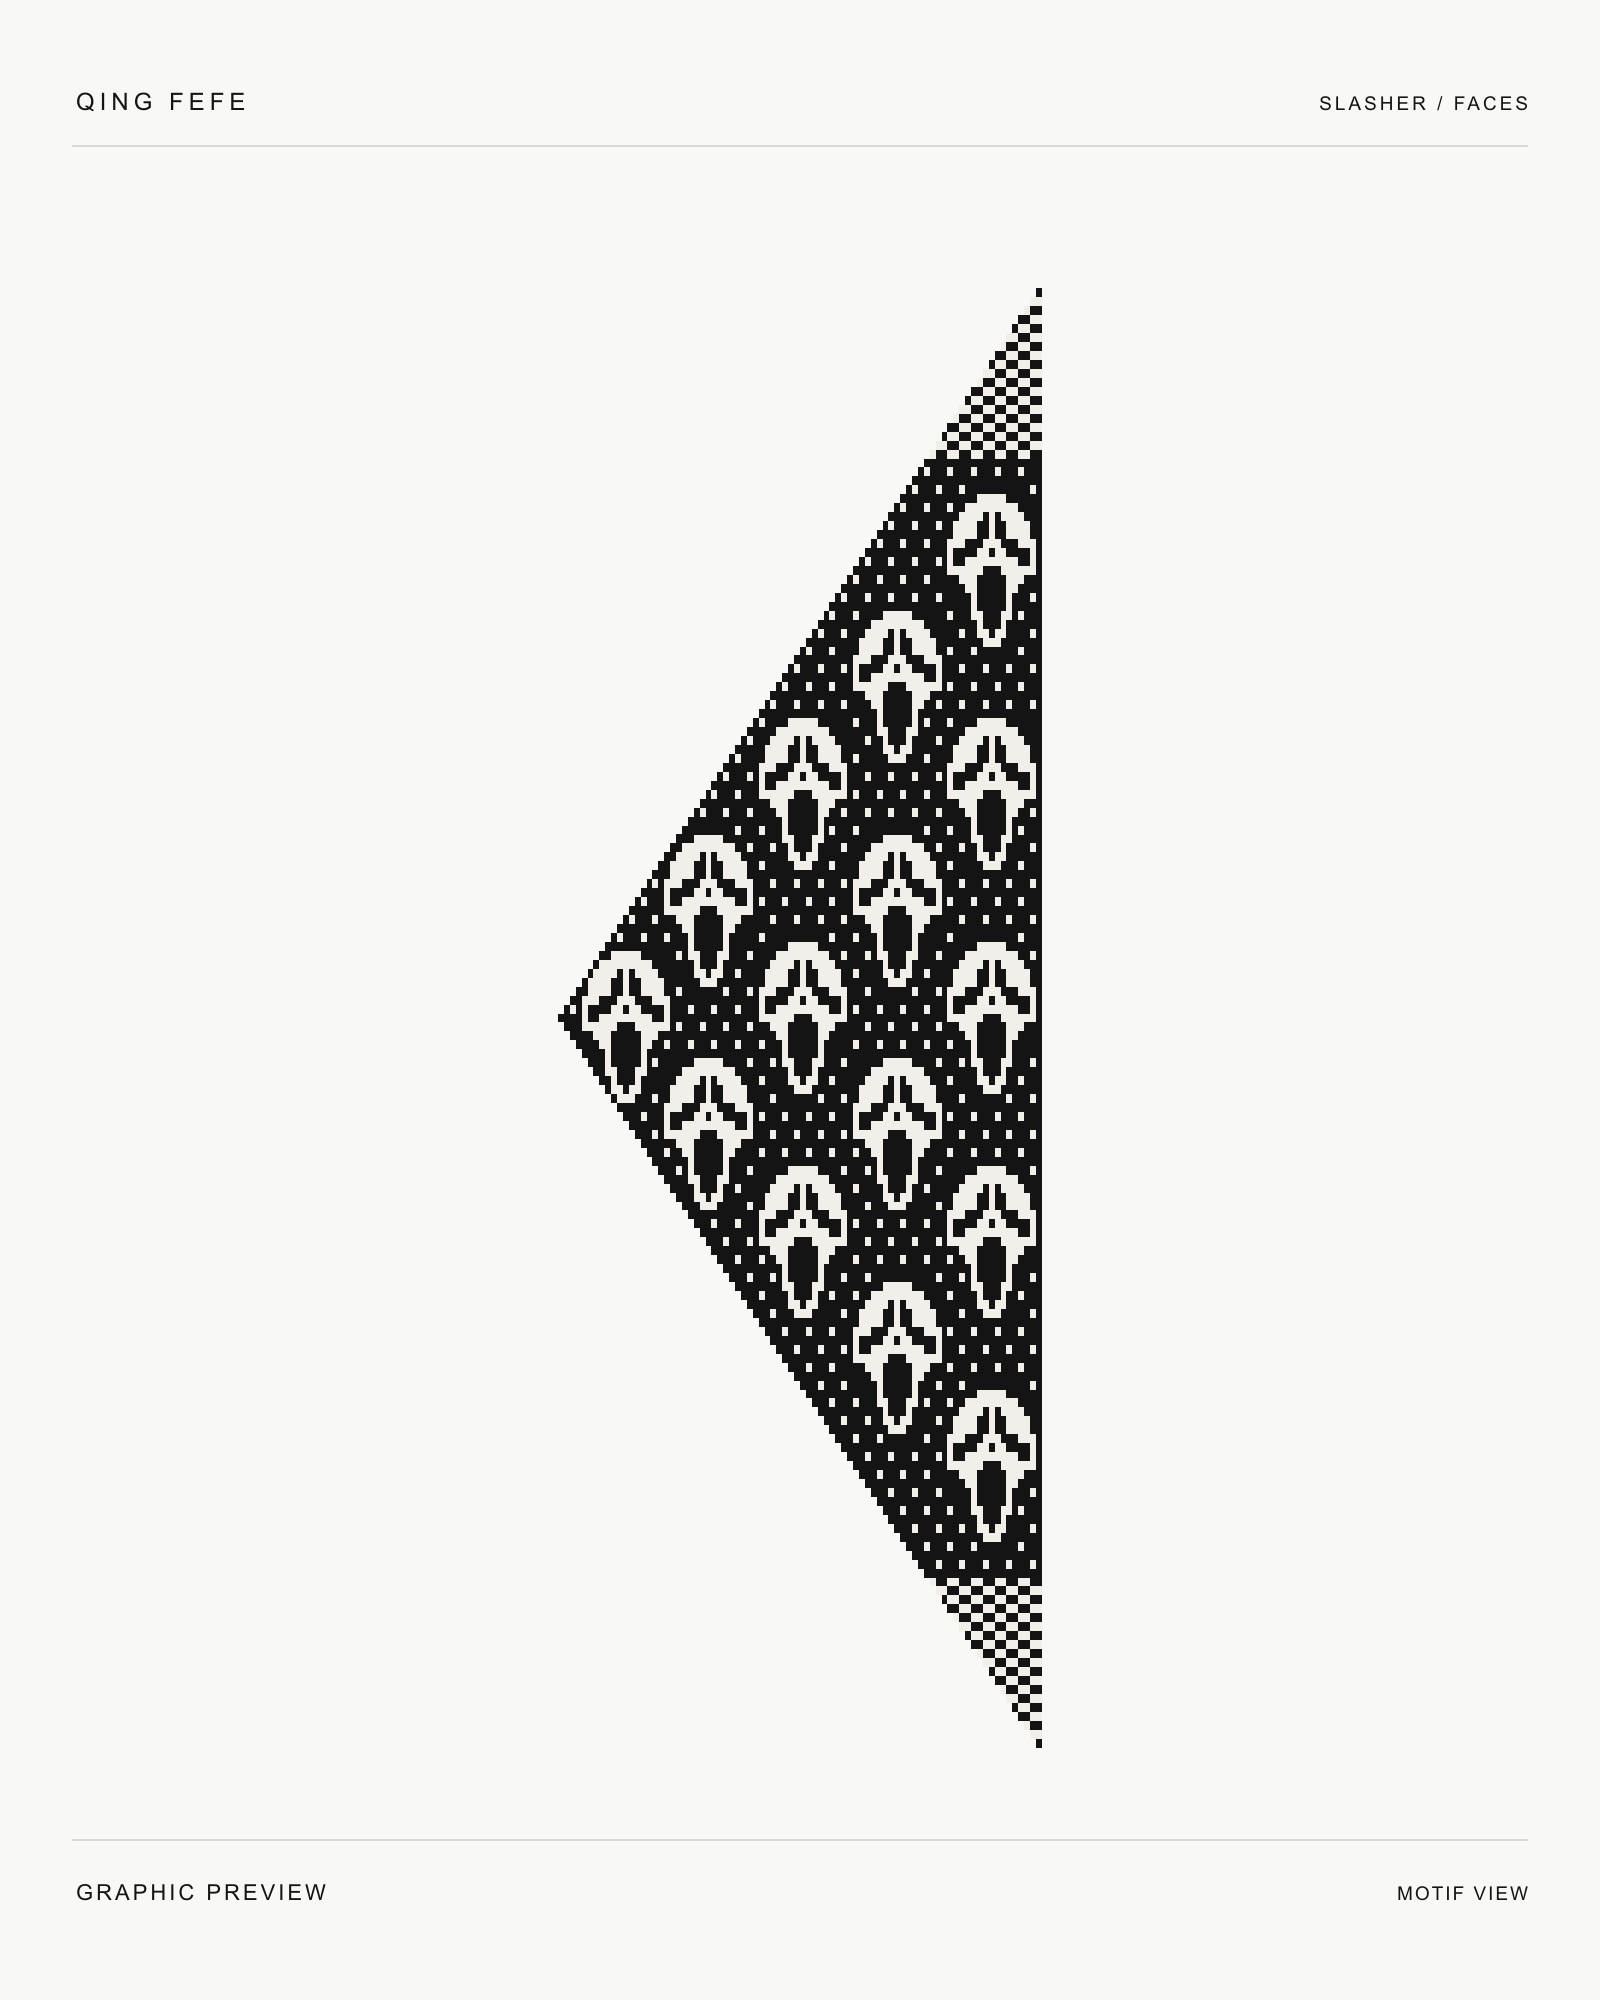
Faces on one side, hands on the other. A reversible triangle scarf worked in two-pattern double knitting.
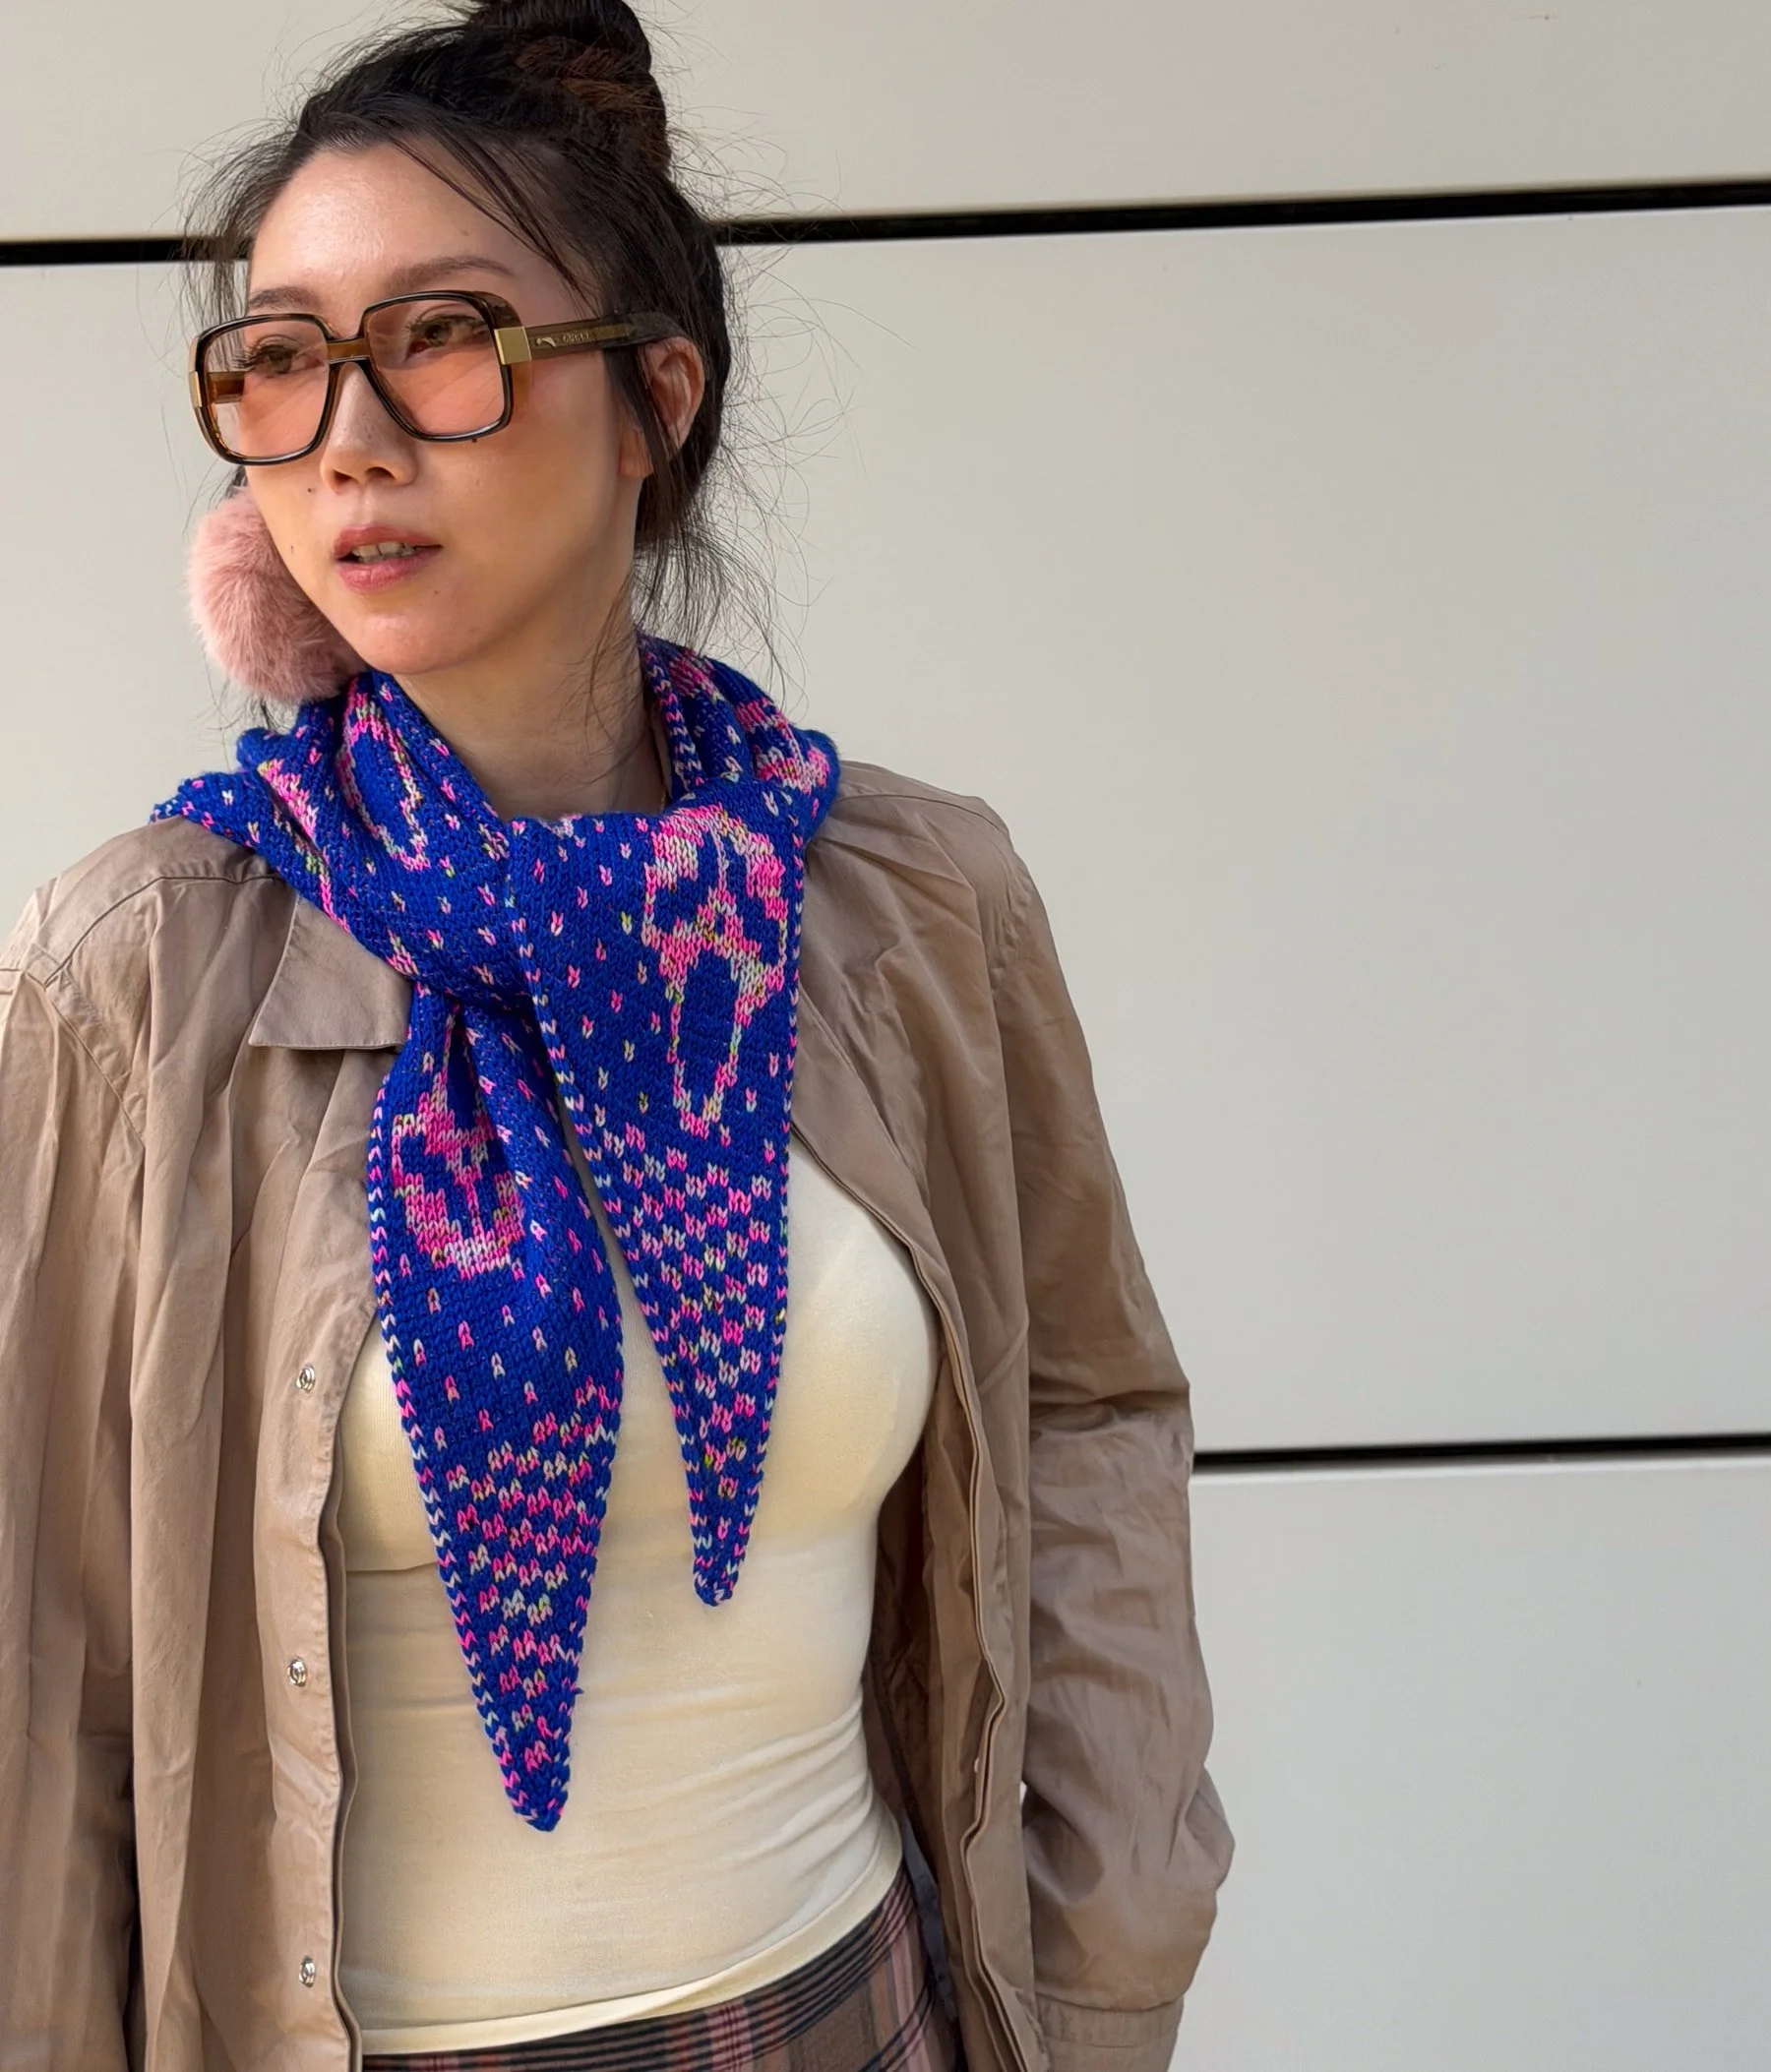
Pattern details ↓Worn / face side
Digital knitting pattern, not a finished item.
Release details are being finalised. Purchases are not open yet.
£8 · Includes two bonus variations.
You should be comfortable following charts and working with two yarns. Previous double-knitting experience is helpful.
Curious about the technique? Explore the photo tutorials ↗
Two sides / one scarf
Meet the other side.
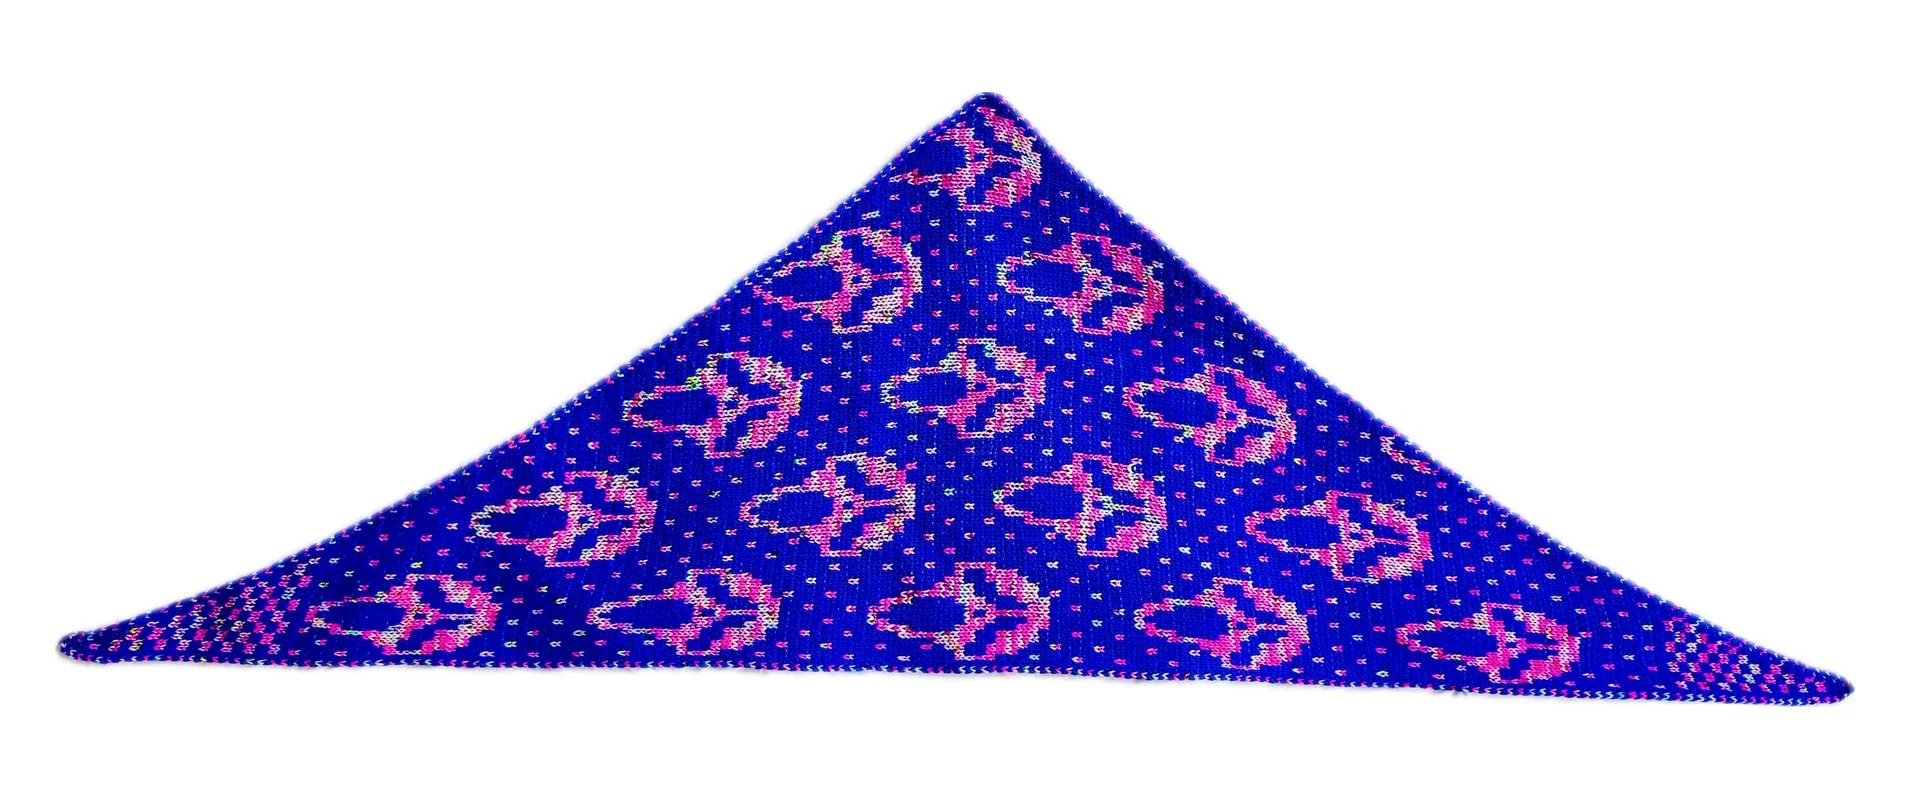
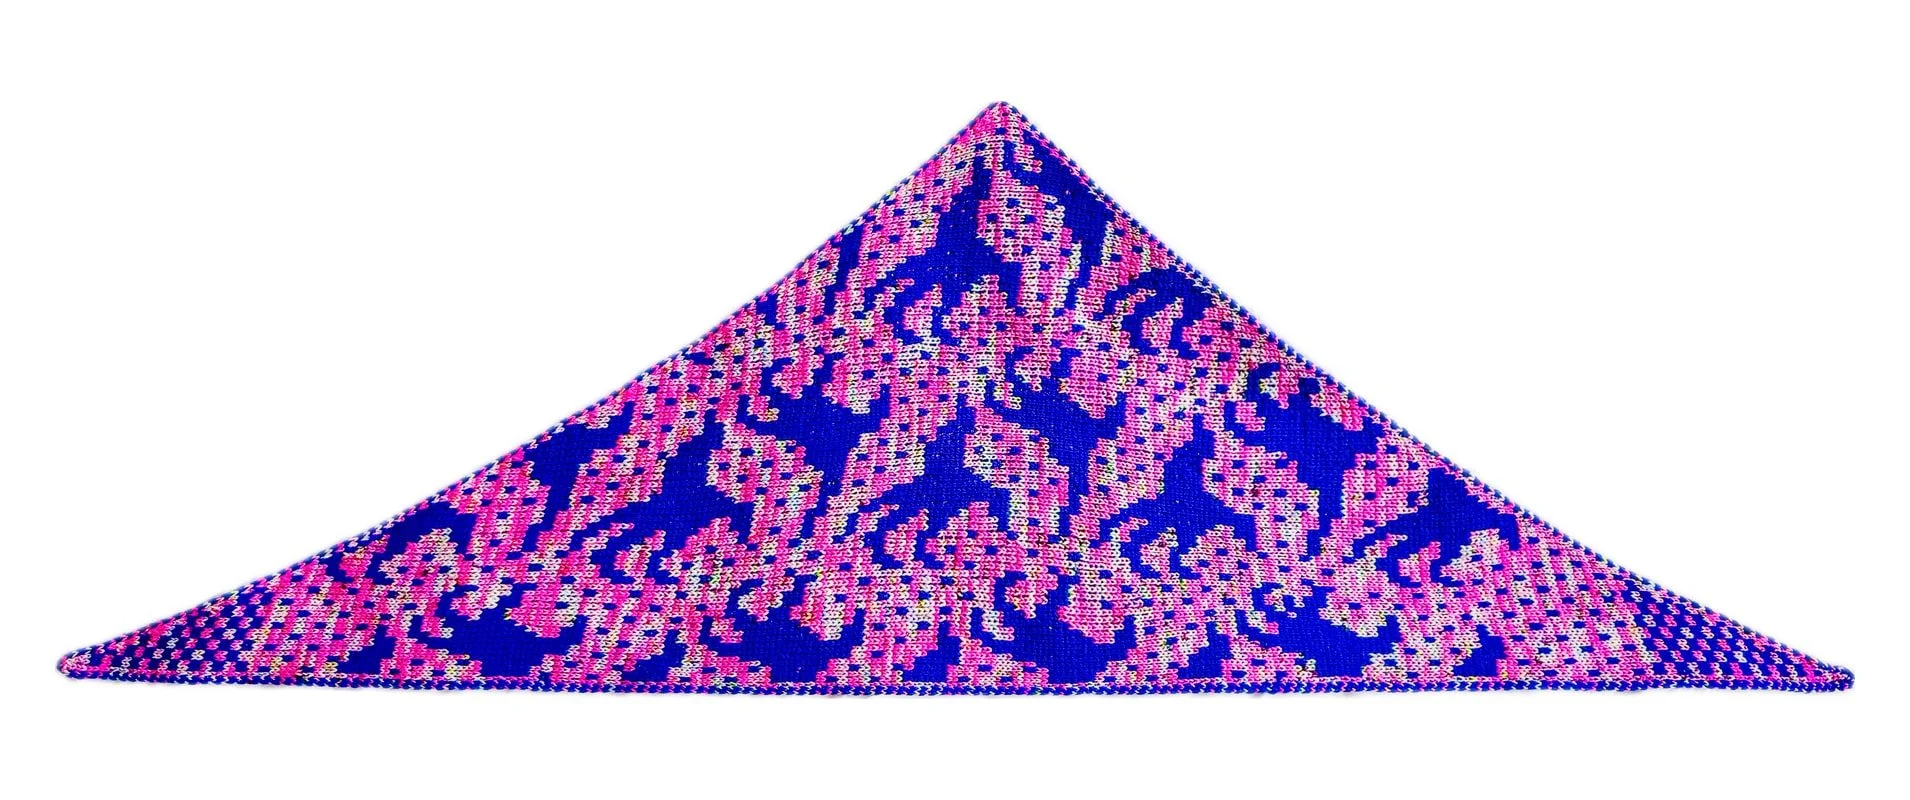
Both sides, shown together.
Before you cast on
The essentials.
- Skill level
- Adventurous intermediate
- Technique
- Two-pattern double knitting
- Construction
- Triangle scarf, worked flat
- Finished size
- Approximately 112 cm span × 37 cm depth, estimated from gauge; excludes added I-cord.
- Yarn
- Fingering weight · two contrasting colours
- Needles
- 3.5 mm / US 4 circular needle
- Gauge
- Target 22 body pairs × 29 rows = 10 cm / 4 in using 3.5 mm needles; check with a blocked swatch.
- Pattern format
- English digital PDF
- Instructions
- Written construction · charted motifs
Your scarf has
two personalities.
Faces on one side. Hands on the other. Both are convinced they are the main character.
Only two colours.
Still dramatic.
Choose a strong contrast and let the yarn do an unreasonable amount of showing off.
No wrong side.
Only different decisions.
Wear the faces, wear the hands, or spend ten minutes flipping between them before leaving home.
One size
The whole picture.
- Top edge
- Approximately 112 cm
- Depth
- Approximately 37 cm
Measurements are estimates from gauge and exclude the added I-cord.
Materials
Two colours. Your choice.
Sample shown
Qing Fibre Dashing Fingering
100% Ultrafine South African Merino
50 g / 200 m (219 yd) per skein
- MC / main colour
- Flamingo
- CC / contrast colour
- Hero
Yarn to prepare
- MC
- 100 g / 400 m
- CC
- 100 g / 400 m
Two 50 g skeins per colour. Purchase quantities for one scarf, not the exact sample consumption.
Actual sample usage
- MC
- 67.2 g
- CC
- 71.3 g
Your usage may vary with tension.
Choose two colours with a clear light–dark or tonal contrast. Highly variegated yarns may soften the motif definition.
A little preparation
Know before
you knit.
Skills & techniques
This pattern is for knitters who enjoy chart reading, bold graphic motifs and managing two yarns at once. Previous double-knitting experience is helpful, but the pattern explains its design-specific method.
- Two-pattern double knitting
- Chart reading
- Paired increases and decreases
- Integrated I-cord edges
- Provisional cast-on
Needles & notions
3.5 mm / US 4 circular needles with a 40–100 cm cable. You will also need waste yarn, a crochet hook, a yarn guide ring, a tapestry needle, blocking mats and pins.
The useful files, not a mystery zip folder
Version 2.1 includes the 7-page English pattern PDF and a matching 14-page A4 printable chart pack in one ZIP download. Unzip it and open both files to begin. Construction is written; motifs are charted, not written out row by row. Side A and Side B are separate, complete pattern packages with their own instructions and charts.
A few details
One more thing.
Is it fully reversible?
Yes. Both surfaces are designed to be worn: faces on Side A and hands on Side B. The motifs are different drawings, not just a mirrored colour reversal.
Are the sides knitted separately?
No. Both layers are worked together, with both yarns used on every row.
Are the instructions written or charted?
Construction, setup, shaping and finishing use written instructions. The graphic motifs are charted, so you will need to follow charts.
Do I need previous double-knitting experience?
It is helpful, especially when reading charts and managing two yarns. The pattern explains its design-specific method; try a small practice piece before casting on the scarf.
How should I choose colours?
Choose two colours with clear tonal contrast. Swatch and check both sides from a little distance. Very busy or highly variegated yarns can make the drawings harder to read.
Can I make a larger size?
Version 2.1 specifies one size, approximately 112 cm span × 37 cm depth, estimated from gauge and excluding the added I-cord. Instructions for a larger size are not included. Changing yarn or needles will affect the fabric, measurements and yarn requirements.
Is this a pattern or a finished scarf?
A digital knitting pattern for making the scarf yourself. The finished scarf, yarn and needles are not included.
The Slasher Poltergeist
Your next
plot twist.
One scarf. Two completely different sides.
Digital knitting pattern, not a finished item.
Release details are being finalised. Purchases are not open yet.
Qingfefe pattern page
Version 1.0 · English PDF knitting pattern.
Subtitle
Triangle scarf · Regular double knitting
Introduction
Checkmate in a side-to-side triangle scarf. This single-motif edition uses regular double knitting, with reversed colours on the opposite face.
Purchase guidance
This is the Side B Only edition: Checkmate on both faces, with reversed colours. The images are graphic design previews, not photographs of a knitted sample.
Essentials
Technique: Regular double knitting
Construction: Side-to-side triangle scarf with 3-stitch i-cord edges
Finished size: approximately 112 cm span × 37 cm depth, estimated from gauge
Needles: 3.5 mm circular needle with a 40–100 cm cable
Gauge: 22 body pairs × 29 rows per 10 cm
Pattern format: English digital PDF
Instructions: Written construction · charted motifs
Measurements
Top edge: approximately 112 cm
Depth: approximately 37 cm
Measurement note
Dimensions are estimates from gauge, rather than a new blocked-sample measurement.
Sample yarn
Main colour: Qing Fibre Dashing Fingering in Hush, held together with King Cole Cosmos in Lunar.
Contrast colour: Qing Fibre Dashing Fingering in Guardian.
Yarn to prepare
Hush: 2 × 50 g hanks, 100 g / 400 m total.
Lunar: 1 × 25 g skein / 393 m.
Guardian: 2 × 50 g hanks, 100 g / 400 m total.
These are yarns to prepare, including allowance for swatching and finishing, rather than measured consumption.
Kit
The Harlequin Gambit yarn kit is listed separately on Qing Fibre. The pattern is not included in the yarn kit; purchase the PDF pattern here on Qingfefe.
Harlequin Gambit yarn kit at Qing Fibre
Availability: Sold out
Skills & techniques
Regular double knitting, chart reading, provisional crochet cast-on, paired increases and decreases, 3-stitch i-cord edges, centred point bind-off and wet blocking.
Needles & notions
3.5 mm circular needle with a 40–100 cm cable.
Useful files
Side B Only edition: pattern PDF, full digital chart and A4 chart pack.
FAQ
Is this a finished scarf?
No. This is a digital knitting pattern for making the scarf yourself. Yarn and needles are purchased separately.
Which edition should I choose?
Combined A+B places Harlequin diamonds and Checkmate on opposite faces. Side A Only uses Harlequin diamonds; Side B Only uses Checkmate. The single-motif editions produce reversed colours on the opposite face automatically.
Are the sides knitted separately?
No. The two layers are worked together.
Is the pattern included in the yarn kit?
No. The yarn kit is sold separately on Qing Fibre. Purchase the pattern on Qingfefe.
Are the instructions written or charted?
Construction instructions are written. The motifs are charted.
Tutorials
Provisional cast-on and i-cord tab photo tutorial
Double-knit paired increase photo tutorial
These lessons demonstrate techniques using Slasher. Follow the Harlequin pattern for colours, row numbers and placement.
Support
Pattern help
Photo captions
1: Graphic preview / Checkmate motif / not a knitted sample
2: Graphic preview / reversed colours / not a knitted sample
Photo roles
Side A: 3
Side B: 4
Full shape: 1
Full shape reverse: 2
Reveal
One motif. Reversed colours.